

Baked Chicken Taquitos
Baked Chicken Taquitos: Crispy, Cheesy and Easy to Make at Home
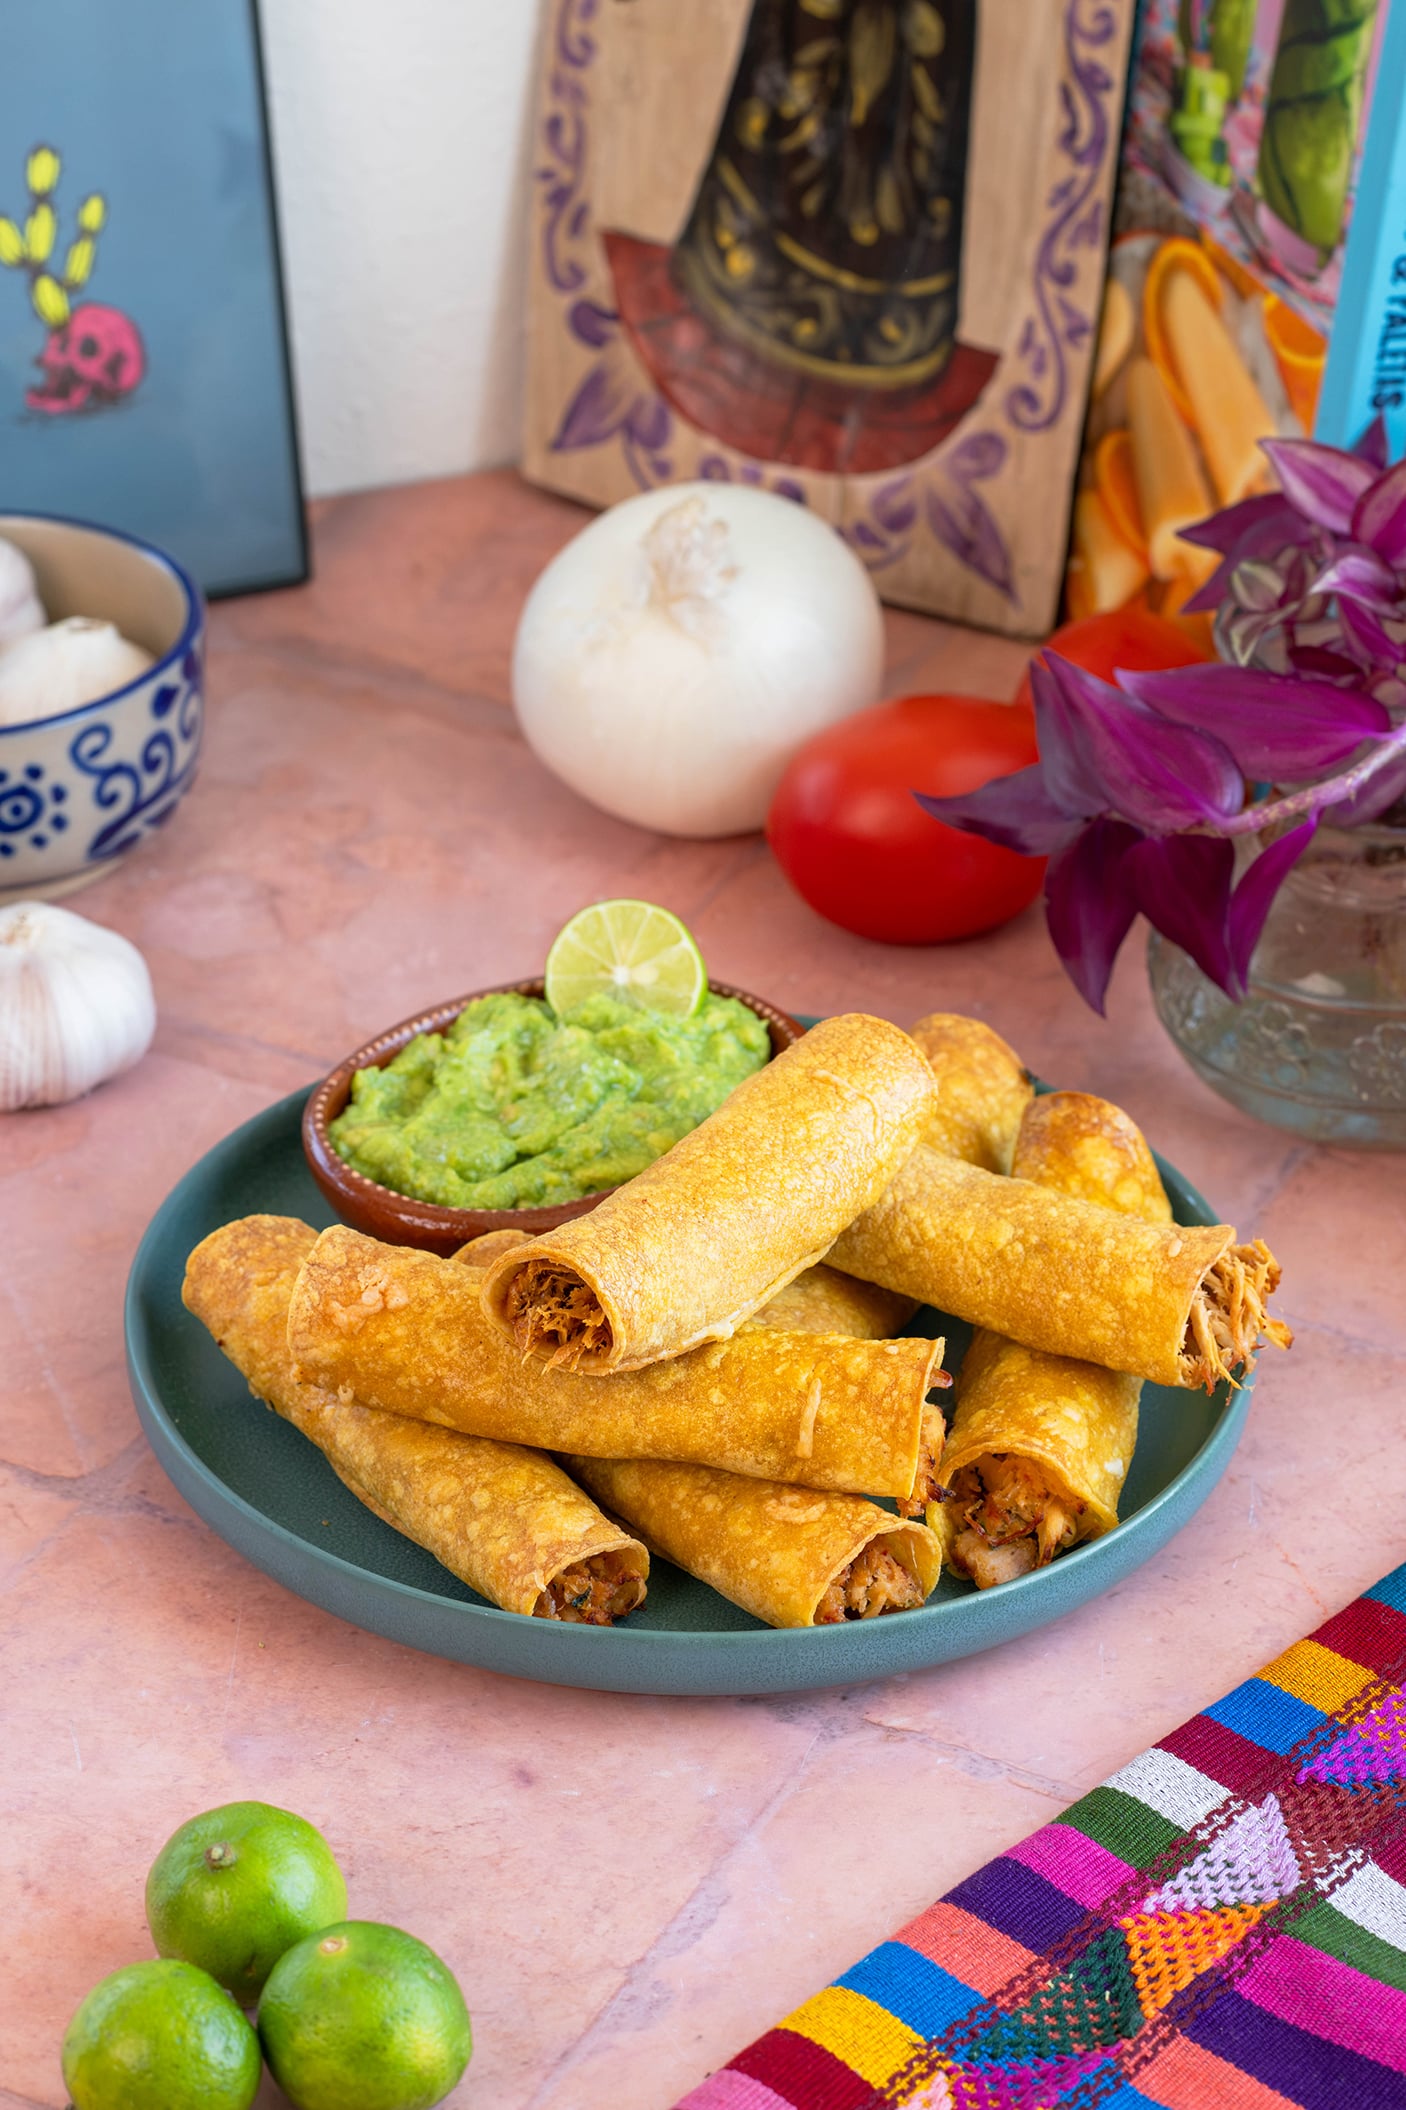
There are few things better than biting into a crispy taquito while it’s still warm. These Baked Chicken Taquitos have everything I love about them: crunchy corn tortillas, a savory chicken filling, plenty of melted cheese, and lots of possibilities for toppings and dipping. Instead of frying, these taquitos are lightly coated with oil and baked until crisp and golden, making them especially easy when you’re preparing a big batch.
The chicken filling is simple but flavorful, with onion, tomato, green bell pepper, cilantro, garlic, and black pepper. Monterey Jack melts into the chicken as the taquitos bake, giving you that cheesy center against the crisp tortilla. They’re easy enough for a weeknight dinner but also perfect for parties, game days, or anytime you need something everyone can grab and eat.
Related Recipe: Taquitos Ahogados
Taquitos, Flautas and a Little History
Taquitos are closely connected to the Mexican tradition of tacos dorados, tortillas filled with meat or another filling, rolled or folded, and fried until crisp. The name taquito simply means “little taco” in Spanish.
Depending on where you are in Mexico or the United States, you may also hear rolled tacos called flautas, meaning “flutes,” because of their long, narrow shape. There isn’t one universal rule separating taquitos from flautas. Regional traditions vary, although flautas are often larger or longer and taquitos tend to be smaller.
Crispy rolled tacos also have a long history in Mexican-American cooking, particularly in Southern California and the Southwest. In San Diego, “rolled tacos” are practically their own category of Mexican-American comfort food, often served piled with guacamole and shredded cheese.
And while frying is traditional for tacos dorados, baking them is a convenient home-cooking variation. You can prepare an entire tray at once without standing over a pan of hot oil.
Ingredient Suggestions
One of the best things about chicken taquitos is how adaptable they are. Rotisserie chicken works wonderfully when you want to save time, but any leftover roasted, grilled, or poached chicken can be shredded and used for the filling.
Monterey Jack is especially good here because it melts beautifully and has a mild flavor that doesn’t overpower the chicken. Oaxaca, Chihuahua, asadero, or a Mexican cheese blend are also good options if you want to change it up.
If you like a little heat, replace some or all of the green bell pepper with finely chopped jalapeño, serrano, or roasted poblano. You can also add a pinch of ground cumin or Mexican oregano to the chicken filling.
Most importantly, use corn tortillas that are fresh and pliable. Corn tortillas can crack when rolled if they’re cold or dry, so warming them before filling is an important step.
What to Serve with Chicken Taquitos
For me, taquitos need something cool and creamy alongside all that crunch. Guacamole is the obvious choice, and a spoonful of Mexican crema or sour cream is always good too.
Serve them with salsa verde, roasted tomato salsa, pico de gallo, or a spicy chile de árbol salsa. For a fuller meal, add Mexican rice, refried beans, black beans, or a simple cabbage salad dressed with lime.
You can also turn them into a platter by arranging the taquitos together and setting out small bowls of guacamole, salsa, crema, pickled jalapeños, shredded lettuce, queso fresco, and lime wedges. Everyone can dress their own.
Tips for Extra-Crispy Baked Taquitos
- Don’t overfill the tortillas. It can be tempting to squeeze in extra chicken and cheese, but an overstuffed tortilla is much more likely to split open while baking.
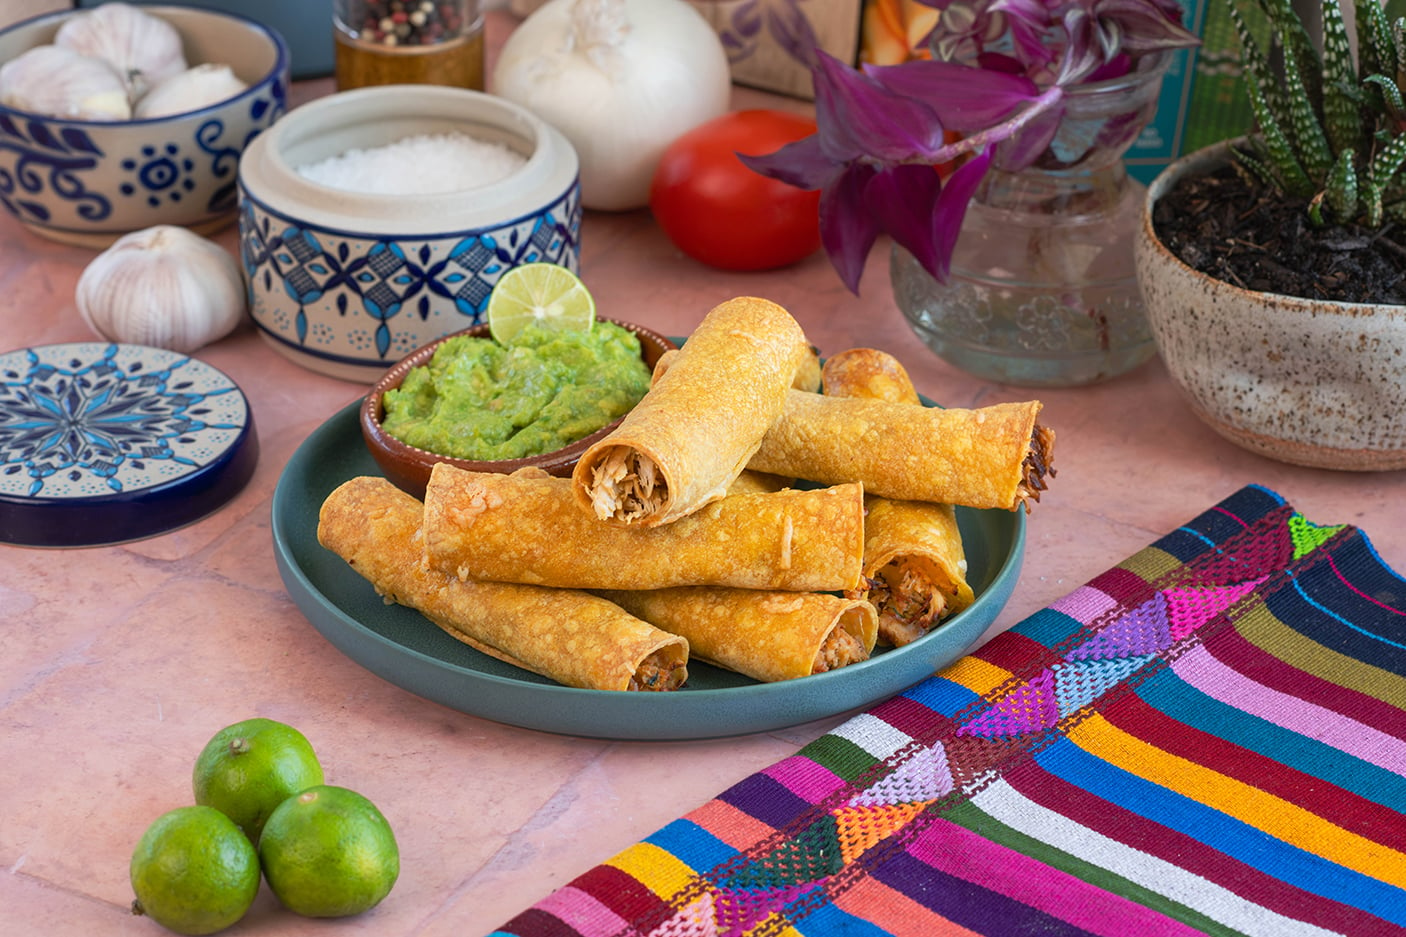
- Arrange each taquito seam-side down on the baking sheet and leave a little room between them. That allows hot air to circulate around the tortillas so they crisp instead of steaming.
- A light, even coating of cooking oil also makes a difference. You don’t need much, but the oil helps the tortillas turn golden and gives them a texture closer to fried taquitos.
- If your tortillas feel stiff, warm them in small batches and keep them wrapped in a clean kitchen towel while you work.
How to Store and Reheat Taquitos
- Store leftover chicken taquitos in an airtight container in the refrigerator for up to 3 days. For the best texture, reheat them in a 375°F oven or air fryer until warmed through and crisp again. The microwave works in a pinch, but the tortillas will soften.
- Taquitos are also great for freezing. Let baked taquitos cool completely, then freeze them in a single layer before transferring them to a freezer-safe container or bag. They can be frozen for up to 2 months. Reheat them directly from frozen in the oven or air fryer until hot and crisp.
- Keep guacamole, salsa, crema, and other toppings separate and add them only when serving.
A Crispy Taquito Without the Frying
These Baked Chicken Taquitos are proof that you don’t need a pot of hot oil to get that satisfying crunch. They’re crispy on the outside, cheesy and savory on the inside, and easy to customize with whatever salsa and toppings you have on hand. Make them for dinner, pile them onto a platter for a party, or tuck a few into the freezer for later. Just don’t forget the guacamole.
This Avocado Pistachio Bread with Lime Glaze
- Prep Time: 20 minutes
- Cook Time: 45-55 minutes
- Total Time: 65-70 minutes
- Yield: serves 10 1x
- Category: Dinner, Lunch
- Method: Boiling
- Cuisine: Mexican
Description
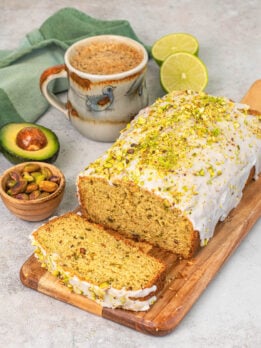
This Avocado Pistachio Bread with Lime Glaze is a moist, buttery quick bread made with creamy avocado, crunchy pistachios, and fresh lime zest. Finished with a sweet, tangy lime glaze and a sprinkle of chopped pistachios, this tender loaf is perfect for breakfast, brunch, or an afternoon treat.
Ingredients
- 1½ cups all-purpose flour
- 1½ teaspoons baking powder
- ½ teaspoon baking soda
- ½ teaspoon kosher salt
- ½ cup granulated sugar
- ¼ cup light brown sugar, packed
- 6 tablespoons unsalted butter, softened
- ½ cup ripe avocado, mashed until completely smooth
- 2 large eggs, at room temperature
- 1 teaspoon vanilla extract
- 1 tablespoon lime zest
- ¼ cup whole milk, room temperature
- ½ cup shelled pistachios, lightly toasted and coarsely chopped
- Ingredients for Lime Glaze:
- 1 cup powdered sugar
- 1½ to 2 tablespoons fresh lime juice
- Chopped pistachios, for garnish
- Finely grated lime zest, for garnish
Instructions
- Preheat the oven to 350°F. Grease loaf pan with nonstick baking spray. If desired, line the pan with a parchment sling.
- In a medium bowl, whisk together the flour, baking powder, baking soda, and salt. Set aside.
- In a large bowl, using an electric mixer, beat the butter, granulated sugar, and brown sugar on medium-high speed for about 3 minutes, until noticeably lighter and fluffy.
- Add the mashed avocado and beat on medium speed until completely smooth and incorporated, about 1 minute.
- Beat in the eggs. Beat in the vanilla and lime zest.
- Using a rubber spatula, fold one-third of the flour mixture into the avocado mixture. Fold in half of the milk. Repeat with another third of the flour and the remaining milk, then fold in the remaining flour just until combined. Do not overmix.
- Gently fold in the chopped pistachios. The batter should be thick and creamy.
- Spoon the batter into the prepared pan and gently smooth the top. Bake for 42-45 minutes, until the loaf is risen and golden and a toothpick inserted into the center comes out with a few moist crumbs attached.
- Let the loaf cool in the pan for 15 minutes, then carefully remove it and transfer to a wire rack. Cool completely.
- Whisk the powdered sugar with 1½ tablespoons lime juice. Add additional lime juice, a teaspoon at a time, until you have a thick glaze. Spoon it down the center of the completely cooled loaf and gently encourage it toward the edges.
- While the glaze is still wet, sprinkle the top with chopped pistachios and a little fresh lime zest.
Notes
Avocado: Use a ripe avocado and mash it until completely smooth. This helps create a moist, tender crumb without noticeable pieces of avocado.
Pistachios: Lightly toast the pistachios before adding them to the batter to enhance their nutty flavor. Allow them to cool before folding them in.
Room-temperature ingredients: Bring the eggs and milk to room temperature before mixing to help create a smooth, evenly combined batter.
Avoid overmixing: Fold in the flour just until incorporated. Overmixing can result in a dense or tough loaf.
Baking: Begin checking for doneness around 42 minutes. The bread is ready when a toothpick inserted into the center comes out with a few moist crumbs.
Lime glaze: Allow the bread to cool completely before glazing to prevent the glaze from melting into the loaf.
Storage: Store the glazed bread in an airtight container at room temperature for up to 2 days or refrigerate for up to 5 days. For longer storage, freeze individual slices for up to 3 months.
Nutrition
- Serving Size: 1 slice
- Calories: 300
- Sugar: 28 g
- Sodium: 220 mg
- Fat: 12 g
- Saturated Fat: 7 g
- Unsaturated Fat: 7 g
- Trans Fat: .3 g
- Carbohydrates: 44 g
- Fiber: 2 g
- Protein: 5 g
- Cholesterol: 56 mg
FAQs
They probably aren’t warm enough. Corn tortillas become much more flexible when heated. Warm them just until soft and pliable, then keep them covered while assembling the taquitos so they don’t cool down and dry out.
Yes. Prepare the chicken filling ahead and refrigerate it separately for up to 2 days. When you’re ready to eat, warm the tortillas, assemble the taquitos, and bake. This gives you the best crispy texture.
Absolutely. Arrange the taquitos seam-side down in a single layer, lightly spray them with oil, and air fry at about 375°F until crisp and golden. Depending on the size of your air fryer, you’ll probably need to cook them in batches.
The terms are often used interchangeably, and the distinction varies by region. Generally, taquitos are thought of as smaller rolled tacos, while flautas may be longer and sometimes made with larger tortillas. Both belong to the delicious family of crispy rolled tacos, so there’s plenty of overlap


